728x90
728x90

내가 만든 과제: 더 꾸민 버전

<!DOCTYPE html>
<html lang="en">
<head>
    <meta charset="UTF-8">
    <title>Document</title>
    <link rel="stylesheet" href="css/main.css">
</head>
<body style="background-image:url('source/backgroundsea.jpeg');">
    <div class="mainblogbox">
        <p class="title">insidepixce</p>
        <p>1시간 전</p>
        <div class="titletext">
            <p><strong>우리의 청춘을 썩히지 않아</strong></p>
            <p>너를 만나 같이 더 빛나, 아름다운 시간만 쌓자! 시작이라는 걸 넌 믿을 수 있겠니? 이제야 사랑을 알 것 같아미래의 미래에도 널 사랑한 나란 걸, Ready or not, 가는 거야 나를 믿어 here we go, here we go 온 세상과 저 광야 위로 후회 없이 사랑했다고 말하게 </p>
        </div>
        <div class="titleimage">
            <img src="source/Myselfie.jpeg" class="profile">
    </div>
</body>
</html>
  • 시행착오

<!DOCTYPE html>
<html lang="en">
<head>
    <meta charset="UTF-8">
    <title>Document</title>
    <link rel="stylesheet" href="css/main.css">
</head>
<body>
    <div class="container">
        <div class="blog-content"> </div>
            <div class= "blog-name"> 
                <img src="source/Myselfie.jpeg" class="blog-profile">
                <div>
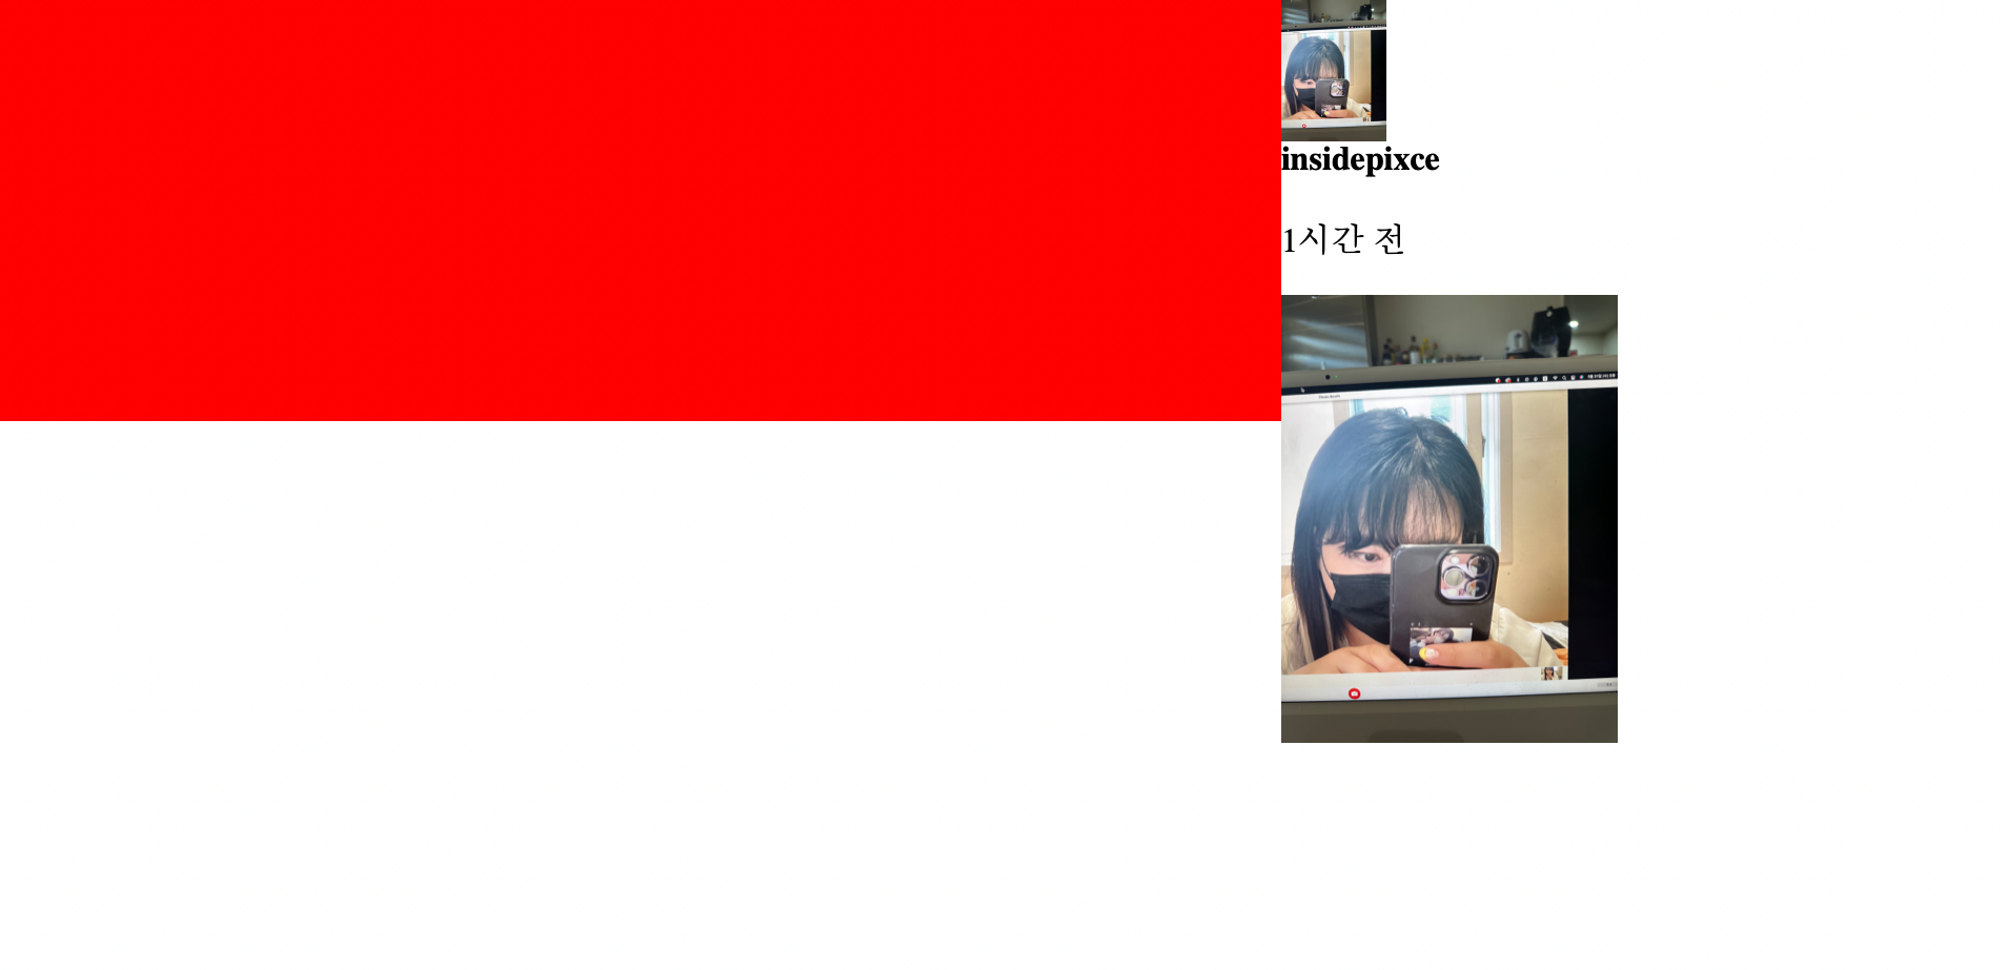
                <h4 class= 'testy'>insidepixce</h4>
                <p class = 'testy'>1시간 전</p>
                </div>
            </div>
        <div class="blog-img">
            <img src="source/Myselfie.jpeg" width="100%">
        </div>
    </div>
</body>
</html>
.blog-content {
    width: 80%;
    height: 200px;
    background : Red;
    float:left;

    
}

.blog-img {
    width: 20%;
    height:200px;
    background:yellow;
    float:left;
}

.container{
    width:800px;
   
    float:left;
}

.blog-profile {
    width: 50px;
    float: left;
    
}

.blog-name {

    float:left;
}

.testy{
    float:left;
}


.blog-content {
    width: 80%;
    height: 200px;
    background : Red;
    float:left;

    
}

.blog-img {
    width: 20%;
    height:200px;
    background:yellow;
    float:left;
}


.blog-profile {
    width: 50px;
    float: left;
    
}

.blog-name {

    float:left;
}

.testy{
    float:left;
}

.profile {
    width: 100px;
    display: block;
    margin-left: auto;
    margin-right: auto;
    border-radius: 50%;
    border: 2px solid white;
    float:left;
}

.title {
    text-align: center;
    letter-spacing:2px;
    margin-top: 30px; 
    float:left;
    margin-bottom: 5px; 
    
}

.ido {
    color:black; 
    text-align:center;
    margin-top: 0px; 
    margin-bottom: 0px; 
    float:left;
}

.texty {
    text-align: center;
    color: black;
    font-weight: bolder;
    opacity: 1;
    float:left;
}


#special {
   color: #00AAFF ;
}

.box {
    width: 500px;
    height: 500px;
    background-color: rgba(12, 112, 242, 0.5); /* 반투명한 파란색 */
    padding: 20px;
    box-shadow: 0 0 0 5px rgba(1, 1, 0, 0.5);
    border-radius: 25px;
    display: block;
    margin-left: auto;
    margin-right: auto;
    margin-top: 20px;
    float:left;
}


시행착오 끝에 성공은 하긴 했으나.. \


순정 코드

<!DOCTYPE html>
<html lang="en">
<head>
    <meta charset="UTF-8">
    <title>Document</title>
    <link rel="stylesheet" href="css/main.css">
</head>
<body>
    <div class="container">
        <div class="blog-content">
            <img src="source/Myselfie.jpeg" class="blog-profile">
            <div class="blog-name">
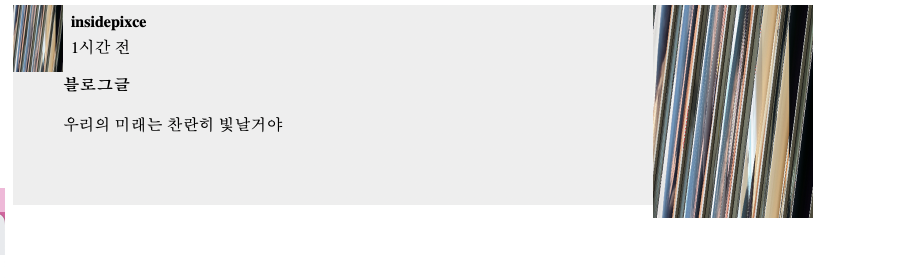
                <h4 style="margin: 8px">insidepixce</h4>
                <p style="margin: 8px">1시간 전</p>
            </div>
            <div class="blog-name">
                <h4>블로그글</h4>
                <p>우리의 미래는 찬란히 빛날거야</p> 
            </div>
        </div>
    <div class="blog-img">
        <img src="source/Myselfie.jpeg" width="100%">
    </div>
</div>
</body>
</html>
.container {
    width:800px;
    color: black;
    float:left;
}

.blog-content{
    width: 80%;
    height: 200px;
    background: #eee;
    float:left;
}

.blog-img {
    width: 20%;
    height:200px;
    background:yellow;
    float:left;
}

.blog-name {
    width: 70%;
    height: 50px;
    background: #eee;
    float:left;
}

.blog-profile{
    width:50Px;
    float:left;
}

728x90
300x250
728x90
728x90
  1. 코드를 좌우로 정렬해준다
<html>
    <head>
        <meta charset = "utf-8">
        <title>Document</title>
        <link href = "css/main.css" rel = "stylesheet">
    </head>
    <body class="backgroundimagesea">
        <div class= "container">
            <div class="header"> </div>
            <div class="left-menu"></div><div class="right"></div>
            <div class="footer"></div>
        </div>
    </body>
</html>
  1. css에서 Inline block 설정을 해준다
.left-menu {
    width:20%;
    height:400px;
    background-color: rgba(12, 50, 242, 0.5);
    display: inline-block;

    
}

.right {
    width:80%;
    height:400px;
    background-color: rgba(40, 112, 242, 0.5);
    display: inline-block;
}

.footer {
    width: 100%;
    height: 50px;
    background-color: rgba(12, 112, 242, 0.7);

}

위의 코드는 박스를 만들어 왼쪽으로 정렬시키는 코드다.

display 속성만 inline-block 으로 조정하면 가로로 배치가 가능하다.

inline-block은 “내 폭과 높이만큼 자리차지하게 해주세요” 라는 뜻이다.

간편하지만 태그 사이에 스페이스바 공백이 있다면 그대로 보여준다

→ 가로로 정렬하려면 태그 사이의 공백도 제거해줘야 함

  • 공백제거하는 방법
  1. 주석처리 기호 사용하기
  2. 부모의 폰트사이즈를 0으로 만들기

정상적으로 된다


💡 부모 태그로부터 inherit되는 속성은 중요도가 가장 낮다


<html>
    <head>
        <meta charset = "utf-8">
        <title>Document</title>
        <link href = "css/main.css" rel = "stylesheet">
    </head>
    <body class="backgroundimagesea">
        <div class= "container">
            <div class="header"> </div>
            <div class="left-menu"></div><div class="right"></div>
            <div class="footer">
                <P>찬란한 미래를 위하여 </P.>
            </div>
           
        </div>
    </body>
</html>

이렇게 글자를 쓰면 이상하게 나온다. 해결책은 Vertical-allign을 사용해야 한다.

중앙 정렬을 하는 역할.

inline을 사용하면 Baseline을 따르게 되기 때문이다.

  1. 코드를 좌우로 정렬해준다
<html>
    <head>
        <meta charset = "utf-8">
        <title>Document</title>
        <link href = "css/main.css" rel = "stylesheet">
    </head>
    <body class="backgroundimagesea">
        <div class= "container">
            <div class="header"> </div>
            <div class="left-menu"></div><div class="right"></div>
            <div class="footer"></div>
        </div>
    </body>
</html>
  1. css에서 Inline block 설정을 해준다
.left-menu {
    width:20%;
    height:400px;
    background-color: rgba(12, 50, 242, 0.5);
    display: inline-block;

    
}

.right {
    width:80%;
    height:400px;
    background-color: rgba(40, 112, 242, 0.5);
    display: inline-block;
}

.footer {
    width: 100%;
    height: 50px;
    background-color: rgba(12, 112, 242, 0.7);

}

위의 코드는 박스를 만들어 왼쪽으로 정렬시키는 코드다.

display 속성만 inline-block 으로 조정하면 가로로 배치가 가능하다.

inline-block은 “내 폭과 높이만큼 자리차지하게 해주세요” 라는 뜻이다.

간편하지만 태그 사이에 스페이스바 공백이 있다면 그대로 보여준다

→ 가로로 정렬하려면 태그 사이의 공백도 제거해줘야 함

  • 공백제거하는 방법
  1. 주석처리 기호 사용하기
  2. 부모의 폰트사이즈를 0으로 만들기

정상적으로 된다

<aside> 💡 부모 태그로부터 inherit되는 속성은 중요도가 가장 낮다

</aside>

<html>
    <head>
        <meta charset = "utf-8">
        <title>Document</title>
        <link href = "css/main.css" rel = "stylesheet">
    </head>
    <body class="backgroundimagesea">
        <div class= "container">
            <div class="header"> </div>
            <div class="left-menu"></div><div class="right"></div>
            <div class="footer">
                <P>찬란한 미래를 위하여 </P.>
            </div>
           
        </div>
    </body>
</html>


이렇게 글자를 쓰면 이상하게 나온다. 해결책은 Vertical-allign을 사용해야 한다.

중앙 정렬을 하는 역할.

inline을 사용하면 Baseline을 따르게 되기 때문이다.

728x90
300x250
728x90
728x90

1. 저번 숙제 정답

<p>안녕하세요<a href="https://naver.com">이동하기</a></p>

내가 적었던 것이랑 비슷했다.

저번 시간에 배운 것

  • 글을 쓸때 <태그>를 사용해야함
  • 가끔 속성넣기 가능
  • 태그안에 태그를 넣을수도 있음

2. 미니 프로젝트 만들기 : 프로필 페이지 만들기

이렇게 만들어 주었다.

<!DOCTYPE html>

 <html>
<head>
    <meta charset="utf-8">
    <title>Document</title>
</head>  
<body style="background-image:url('backgroundsea.jpeg');">
 <img src = "Myselfie.jpeg" style="width:100px; display:block;  margin-left:auto; 
 margin-right:auto;"> 
 <h1 style="letter-spacing:2px; text-align :center;">future fullstack developer</h1>
 <h3 style="color:blue; margin right: auto; margin left: auto;
 text-align: center;"><strong>nsidepixce</strong></h3>
<p style="text-align: center; color:white;"><strong>우리의 찬란한 일기(본문)</strong><a href = "https://insidepixce.tistory.com/">이동하기</a></p>
<p style="text-align: center;"><strong>동서대학교 정보보안학과 1학년<br> 코딩을 정복하고 말테야!"</strong></p>

</body>
 </html>


오타가 있는데… 그냥 봐주세요]

body 태그에 style 을 넣어서 background-image까지 넣어보았다.

바다 느낌으로 꾸미려고 했는데 그 느낌이 안 나서 속상한 사람= 나

3. 텍스트의 일부분만 스타일을 변경하고 싶을때

<p>안녕하세요 저는 <span style="color:red">뛰어난</span>개발자입니다.</p>

<span>이라는 태그로 감싼 뒤에 스타일을 주면 된다.


.

 💡 span 태그는 display:inline 이라는 스타일 속성을 내포하고 있으며, 이를 가지고 있는 요소는 폭, 넓이 등을 단독으로 결정할 수 없다


 💡 높이를 주고싶으면 얘를 감싸고 있는 <p>에 주어야 한다


728x90
300x250

+ Recent posts